Writing a book is like birthing an entire universe. You have to create the people, places, pets, plots, and countless other things that populate the story world. Keeping track of it all—especially if you’re writing a series—especially if you’re writing fantasy—can feel overwhelming.
Until I started using Scrivener for all of my writing, I used to have folders within folders within folders in an attempt to organize it all.
But now there’s a new tool in town that I think will make it even easier!
Enter Airtable
Airtable* is a magical combination of spreadsheet, database, and rainbow-colored visual wonderland. This makes it the perfect tool for creating a story or series bible.
If you are at all a visual learner (raises both hands) then you will LOVE Airtable.
And the best part? Airtable is FREE!
You can, of course, upgrade for premium features. I promise you won’t need them. (But the additional color options are really fun.)
Ready to see how Airtable can help you plan or write a book yet? I thought you’d never ask.
Airtable Setup
Screenshots don’t really do justice to the magic that Airtable can do, so I’ve recorded my first ever video tutorial. Watch this to see how I would set up an Airtable base for a brand new book project. Or read on for the text-and-screenshot version.
After you’ve signed up for your Airtable account (and, if you want a clean slate, deleted all the sample bases they give you) then you’re ready to create your first base.
Click Add a base and select Start from scratch. You can check out their templates if you want, but I always find it easier to make my own.
Name your base, choose a color and an icon. The color and icon will become the favicon for that base, making it really easy to spot in your browser tabs or your bookmarks list.
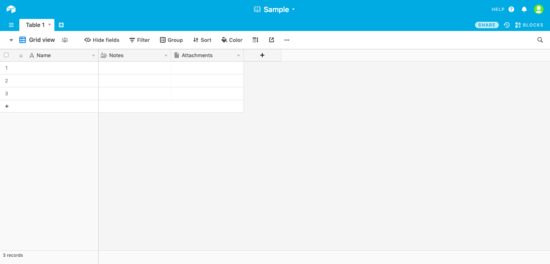
Click on the base to open it. You should see a table (called Table 1 by default) with three fields (Name, Notes, and Attachments).
Each of these is a different field type: Single line text, Long text, and Attachment (to which you can upload or drag-and-drop images, PDFs, documents and other types of files).
Right-click on the Attachments field header and delete the field.
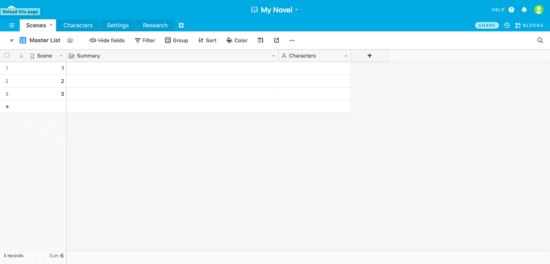
Table 1 is going to become our plotting table. Rename it by either double-clicking on the tab, right-clicking on the tab, or clicking the little arrow on the tab. Change the name to Scenes.
Double-click (or right-click and choose Customize field type) on the Name field. Change the name to Scene and change the field type to Autonumber. (If you prefer to name your scenes/chapters, leave the field type as Single line text.)
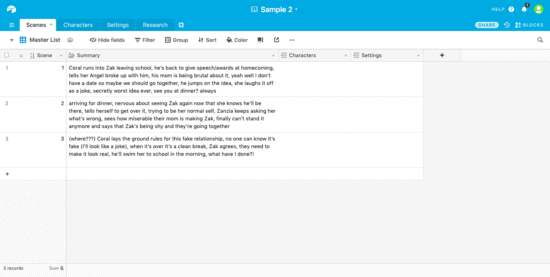
Double-click on the Notes heading and change the name to Summary. It is already a Long text field, which is perfect for writing a plot summary.
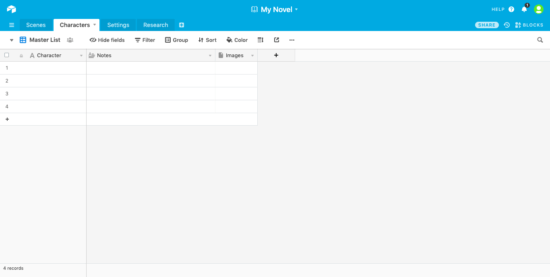
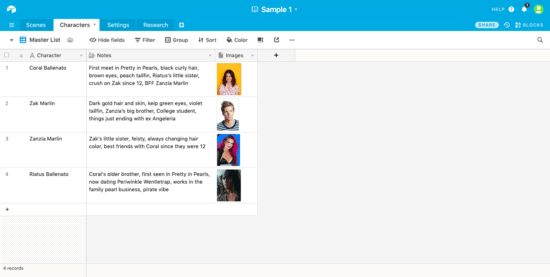
Now click the + sign next to the Scenes table tab and choose Create empty table. Rename the table Characters. Change the Name field to Character. Change the Attachments field to Images.
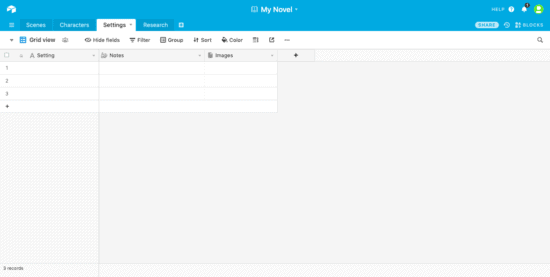
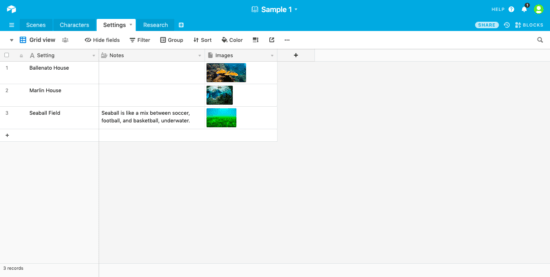
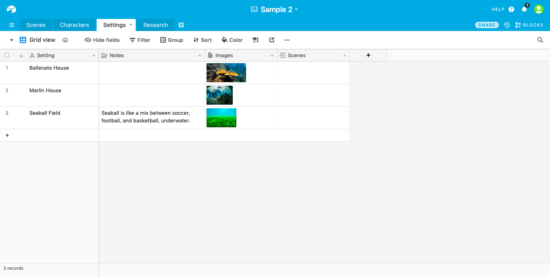
Add another empty table. Rename it Settings. Change the Name field to Setting. Change the Attachments field to Images. Leave the Notes field as is.
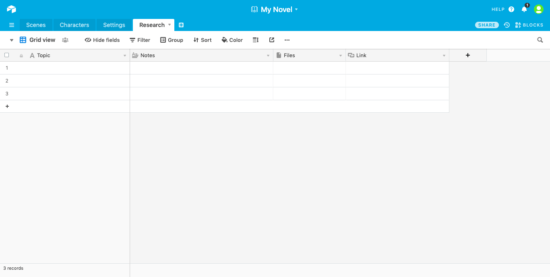
Add a final empty table. Rename it Research. Change the Name field to Topic. Change the Attachments field to Files. Click the + sign next to the Images heading to add a new field. Name it Links and choose the URL field type.
At this point, all of the tables are acting like basic spreadsheets, like something you could create in Excel or Google Sheets. Fill in as much of the information you know about your book at this point before we move on.
I’m going to add in sample info from the novella I’m currently finishing up.
Note: I’ve changed the Row height (the little icon next to Color) to medium or tall in all of the tables.
Now we’re ready to start making connections.
Airtable Connections
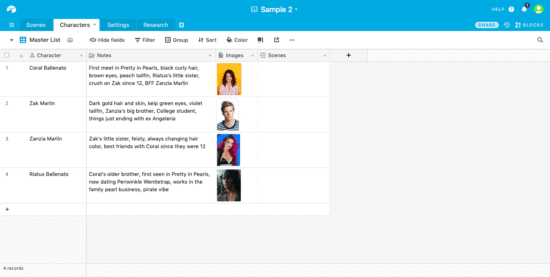
On the Characters table, click the + sign next to Images to add a new field. Name it Scenes and choose Link to another record as the field type, and when prompted choose Scenes from the list. This links the Characters table to the Scenes table. If you go look at the Scenes table, you will see that a Characters field has been added.
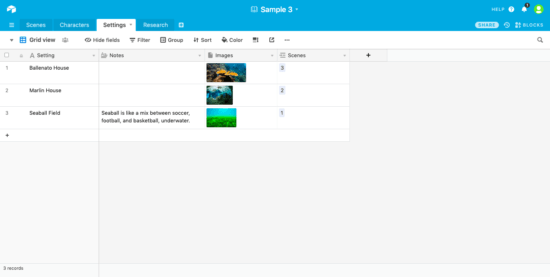
Do the same on the Settings table, linking it to the Scenes table.
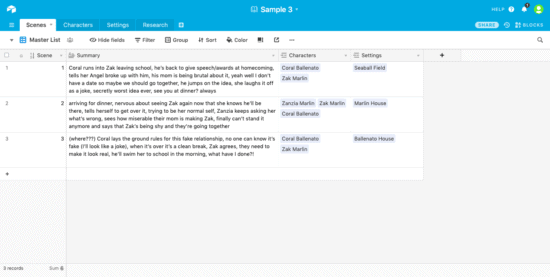
Now go to the Scenes table. If you click on the Characters field for any scene in your table, you will see a + sign. Either click the + sign or start typing the name of a character in your Characters table who is in that scene. Click on that character.
Their record on the Characters table is now linked to that scene. If you look at the Characters table, you will see either the scene number or name listed in the Scenes field for that character.
You can repeat that for every scene that they’re in.
You can do that for every setting, too.
Why, you might ask? Well, I’m about to show you…
Airtable Views
This is where the REAL magic of Airtable shows up. Views. Aka how you see your data.
Nothing short of a miracle.
By default, every new table you create is in a Grid view with the default name of—you guessed it—Grid view. We’re going to change that.
I like to rename my default view as Master List because, well, it’s the master list that includes and shows everything in the entire table.
For our first view, let’s go to the Characters table.
Click on where it says Grid view (or Master List, if you’re me) right below the table tabs. You will see the list of views available, currently only the default one. Along the bottom of the pop-up menu, you’ll see all the types of views you can create.
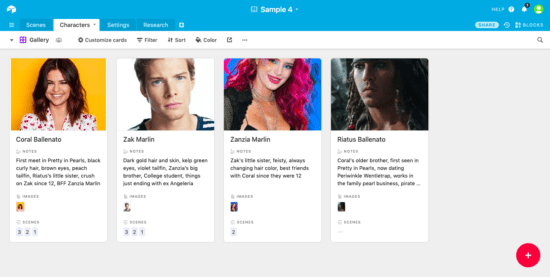
Choose Gallery. If you already have some of your characters built out with names, descriptions, and an inspiration image, magic just happened.
What you’re looking at is a Gallery card view of your characters, with the inspiration image on display, along with their name, description, and any scenes you’ve linked them to.
To switch back to the main view, click the purple Gallery at the top and then choose the blue Grid view (Master List).
Now let’s go to the Scenes table and create a new Grid view.
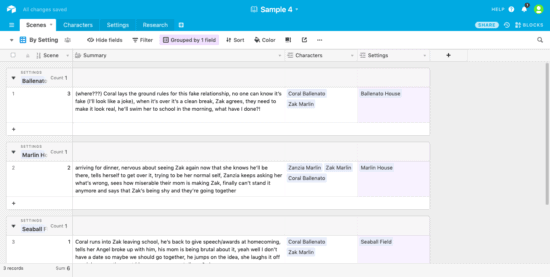
You can rename your views just like anything else. Let’s rename this Grid view By Setting. Then click Group from the under-the-tabs menu. Click Pick a field to group by and then select Settings.
All of your scenes are now grouped by setting, so you can see all of the scenes in each setting as a whole. It will even show as a group any scenes that have no linked settings. You can also choose to Hide the Setting field, since that’s extra information in this view.
Note: If you choose more than one setting for a scene, then it will be in a different group of only scenes that have those same settings. (If you want to prevent that, double-click on the field heading and uncheck the toggle that says Allow linking to multiple records.)
Now let’s try one last piece of magic.
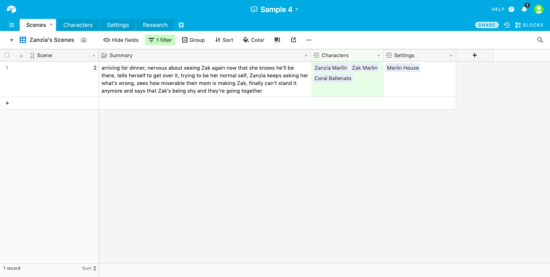
Create another new Grid view in your Scenes table. Rename this one X’s Scenes (replace X with the name of one of your secondary characters). In my example, it’s called Zanzia’s Scenes.
Click Filter from the under-the-tabs menu, then Add filter. It should now look like this:

Click on Scene and change it to Characters. Leave the filter operator as contains. In the gray box on the right, type your character’s name (at least enough of it to differentiate from all the other characters).
This view now shows you every scene that character is in.
If you’re like me and you tend to lose track of secondary characters over the course of a book, this will really help you keep a perspective on when they show up and (more importantly) when they disappear.
Whew, that tutorial was longer than I expected it to be.
There are other views, field types, and features you can play with, but I hope this has been a good introduction. And I hope you can see how wonderful Airtable can be for planning and organizing your story.
If you have any questions or want me to explain something more, leave a comment below.
If you don’t want to start from scratch, you can make a copy of my sample base.
And if you haven’t signed up for Airtable yet, you can do that here*.
PS. Curious about the characters in my sample project? You can meet them in When Coral Dreams, a free short story set in my Forgive My Fins world.
*If you sign up through this link, I earn Airtable premium credit.




Hi Tera.
I just wanted to say, thank you so very much for this post. I have been wanting to write a novel since I was in Middle School but I guess you could say, life happens?
Anyway, I’m finally at a point in my life that I am truly ready to write! (I wish I would have started when I was younger…but no time like the present!)
I have read the post above and have created an Airtable account. I’m now in the process of writing my first chapter and plotting my story. And I must say, I’m in love with Airtable, especially since I’m more of a visual person!
I’ve been reading your other writing blog posts as well as reading Save the Cat! Writes a Novel by Jessica Brody. You two have been such a blessing…thank you again! 🙂
Oh yay!!! I’m so glad you’re finding Airtable useful, Miranda. I LOVE IT!!!
And as the (supposed) old Chinese proverb says: The best time to plant a tree was 20 years ago. The second best time is now.
Go you on your writing!!! (And I have a feeling you’re going to be VERY interesting in the side project I’ve been working on. Stay tuned….)
I’m new to airtable. No experience with it. Thought maybe I could do my book writing on it. I read your expose. It made absolutely no sense to me. It was all gobble-di-goop. I have no idea what you are talking about, and couldn’t follow a thing. So now I’m completely turned off to airtable because it made everything completely confusing.